
If you’re short on time but still want your cookies to look polished and professional, cookie stenciling is the way to go. It’s one of the quickest and easiest techniques for decorating sugar cookies—no detailed piping or advanced skills required.
In this post, I’ll walk you through how to use a cookie stencil on royal icing sugar cookies, with tips, tools, and step-by-step instructions to help you get clean, beautiful designs every time.

What Is a Cookie Stencil?
If you’ve ever looked at a perfectly patterned cookie and wondered, “How did they do that?”, chances are they used a cookie stencil. This section will explain exactly what a cookie stencil is and why it’s a must-have tool for decorating royal icing cookies.
A Quick Intro
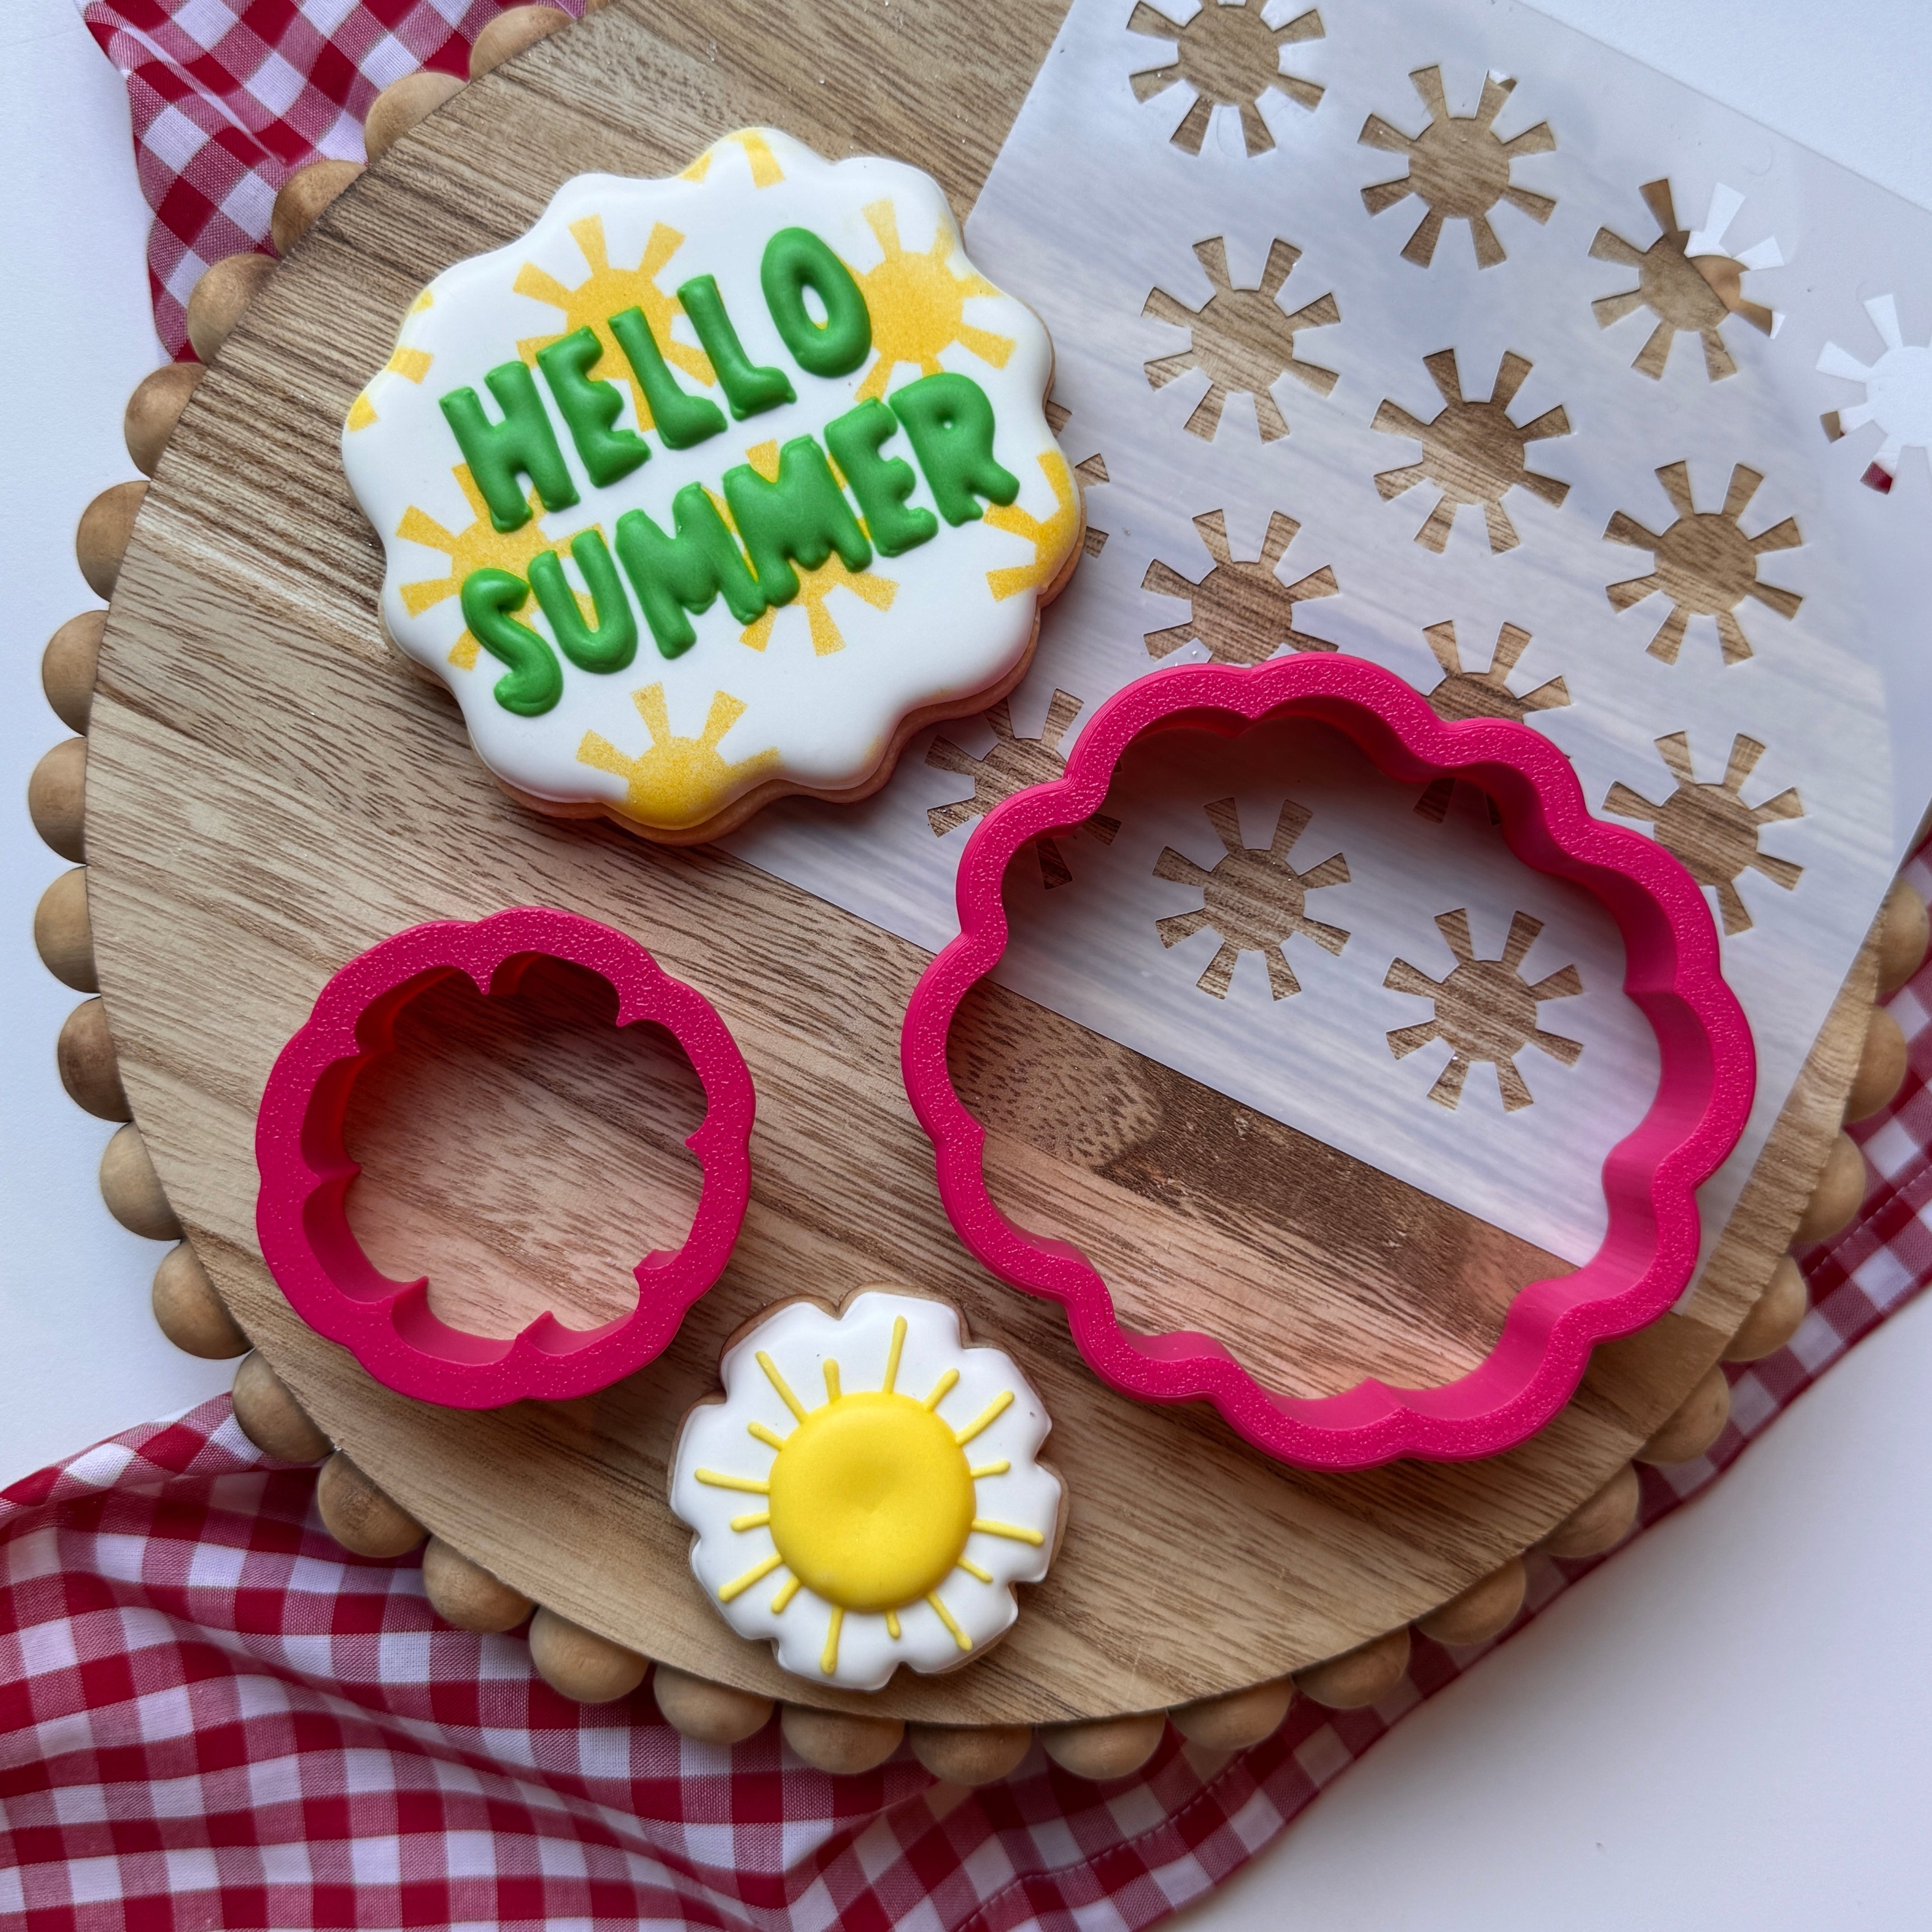
A cookie stencil is a thin, reusable sheet made from food-safe plastic or mesh. It has cut-out shapes, words, or patterns that you can apply directly onto cookies using royal icing, airbrush color, or edible powders. These stencils help you achieve sharp, repeatable designs with very little effort. They’re perfect for adding seasonal patterns, names, monograms, or decorative textures without the time or skill required for detailed piping.
Why Use a Cookie Stencil on Royal Icing?
Using a cookie stencil speeds up the decorating process and creates clean, uniform designs on every cookie. It takes away the guesswork, especially if you’re making multiple cookies for an event or customer order. It’s great for beginners because it reduces the need for detailed hand-piping, and it's also ideal for advanced decorators who want to add professional-looking finishes quickly. Best of all, cookie stencils work beautifully with royal icing, edible airbrush color, and even food-safe dusts—giving you lots of creative options with minimal mess.
When and How to Prep Your Royal Icing
Before you start stenciling, your royal icing needs to be just right. Here’s how to make sure your icing is ready to work with your cookie stencil.
Make Sure the Icing is Fully Dry
Your royal icing base needs to be completely dry before applying a cookie stencil. This usually takes between 12 and 24 hours, depending on humidity and thickness. Rushing this step can lead to smudges or bleeding under the stencil—so be patient and let those cookies sit overnight.
Use the Right Royal Icing Consistency
For stenciling with royal icing (as opposed to airbrush color), you’ll need a stiff consistency—thicker than flood but still spreadable. If your icing is too soft, it can sneak under the stencil and blur your design. You can thicken icing with extra powdered sugar if needed.
Supplies You’ll Need for Stenciling on Royal Icing
You don’t need a bunch of fancy gadgets—just a few helpful tools to make the process smooth and stress-free.
-
Cookie stencil (vinyl or mesh)
-
Airbrush Machine
-
Dry royal icing cookies
-
Offset spatula or icing scraper
-
Stiff royal icing or edible airbrush color
-
Stencil holder or magnets to keep the stencil steady
-
Parchment paper and paper towels for cleanup
Step-by-Step: How to Use a Cookie Stencil on Royal Icing Cookies
Now that your cookies are ready and your supplies are gathered, here’s how to use your stencil like a pro.
Method 1 – Using Royal Icing With a Cookie Stencil
-
Place your cookie on a flat surface.
-
Line up your cookie stencil over the dried royal icing base.
-
Use a stencil holder to keep it in place.
-
Spread a thin layer of stiff royal icing over the stencil using a scraper or spatula.
-
Carefully lift the stencil straight up to reveal the design.
-
Let the design dry before packaging or moving the cookie.
Method 2 – Airbrushing with a Cookie Stencil
-
Set your cookie under the stencil and secure it with a stencil holder. Using a silk screen is a sure way to get a crisp design using an airbrush
-
If possible, place a fine mesh screen over the stencil to prevent overspray.
-
Lightly mist edible airbrush color over the stencil using short, controlled bursts.
-
Gently lift the stencil straight up and let the design dry.
Tips for Perfect Cookie Stenciling Every Time
Even small tweaks can make a big difference in your results. Here are my favorite tips for making cookie stenciling stress-free and satisfying.
Use a Stencil Holder (Trust Me!)
A stencil holder (like a magnetic or hinge-style frame) keeps your stencil in place and saves you time lining it up. It also helps apply even pressure for cleaner edges.
Work with a Light Hand
Whether using icing or airbrush color, applying too much can cause bleeding or blur. Less is more—start with a thin, even layer and build up if needed.
Clean as You Go
Wipe off your stencil between each cookie. This prevents icing buildup and keeps your designs crisp and clean, especially when using dark colors.
How to Store and Care for Your Cookie Stencils
Proper storage and cleaning will help your stencils last a long time.
-
Rinse stencils with warm water immediately after use.
-
Dry them flat on a paper towel to avoid warping.
-
Store stencils in plastic sleeves, a binder, or a dedicated stencil organizer.
-
Keep them out of heat and direct sunlight to maintain their shape.
Stencil Tools I Actually Use in My Cookie Decorating
I used both the Stencil Genie (with the Screen Genie attachment) and The Sweetest Tier Stencil Holder in my own cookie decorating, and I can honestly say they both make stenciling easier, cleaner, and more consistent, especially when I’m working with royal icing or airbrush color. Each tool has its strengths, depending on what kind of cookie decorating you’re doing.
Here’s a simple breakdown to help you choose the one that’s right for you:

Wrapping Up: Cookie Stenciling Made Simple
In conclusion, cookie stenciling is one of the easiest and most effective ways to decorate sugar cookies with beautiful, consistent designs. Whether you're using stiff royal icing or an airbrush, the key is to start with a fully dried royal icing base, use the right tools (like a stencil holder and scraper), and apply color or icing with a light touch. With a little practice and the right techniques, your cookies will go from basic to bakery-worthy in no time.
Ready to stay inspired all year long? Join my Cookie Cutter of the Month Club for a fresh surprise each month—including a themed cookie cutters and coordinating stencil to help you practice your cookie stenciling skills with ease and confidence!
Leave a comment